
"Create the perfect images with the fastest, smoothest and most precise photo editor around."
Heavy Lifting with Affinity Photo
A majority of you likely work with Adobe Photoshop to edit your images -- for very good reasons. Familiarity, excellent results, utilizing the know-how you have learned over the years. Now there is a top notch alternative, at a reasonable price, without sacrificing the quality of the outcome. If you are unhappy with the subscription model of Photo Shop, you should consider AffinityPhoto. (Free trial available).
Affinity Photo's capabilities include:
- RAW Editing
- HDR Merge
- Panorama Stitching
- Focus Stacking
- Batch Processing
- PSD Editing
- 360 Image Editing
- Muti Layer Comp
- Smart Object Support
- Digital Painting
I am going to walk you through a "heavy lifting" edit from my files. Questions and observations are welcome. (To view the images larger, Right-click -> Open Image in a new Tab or Window)
Origninal Image
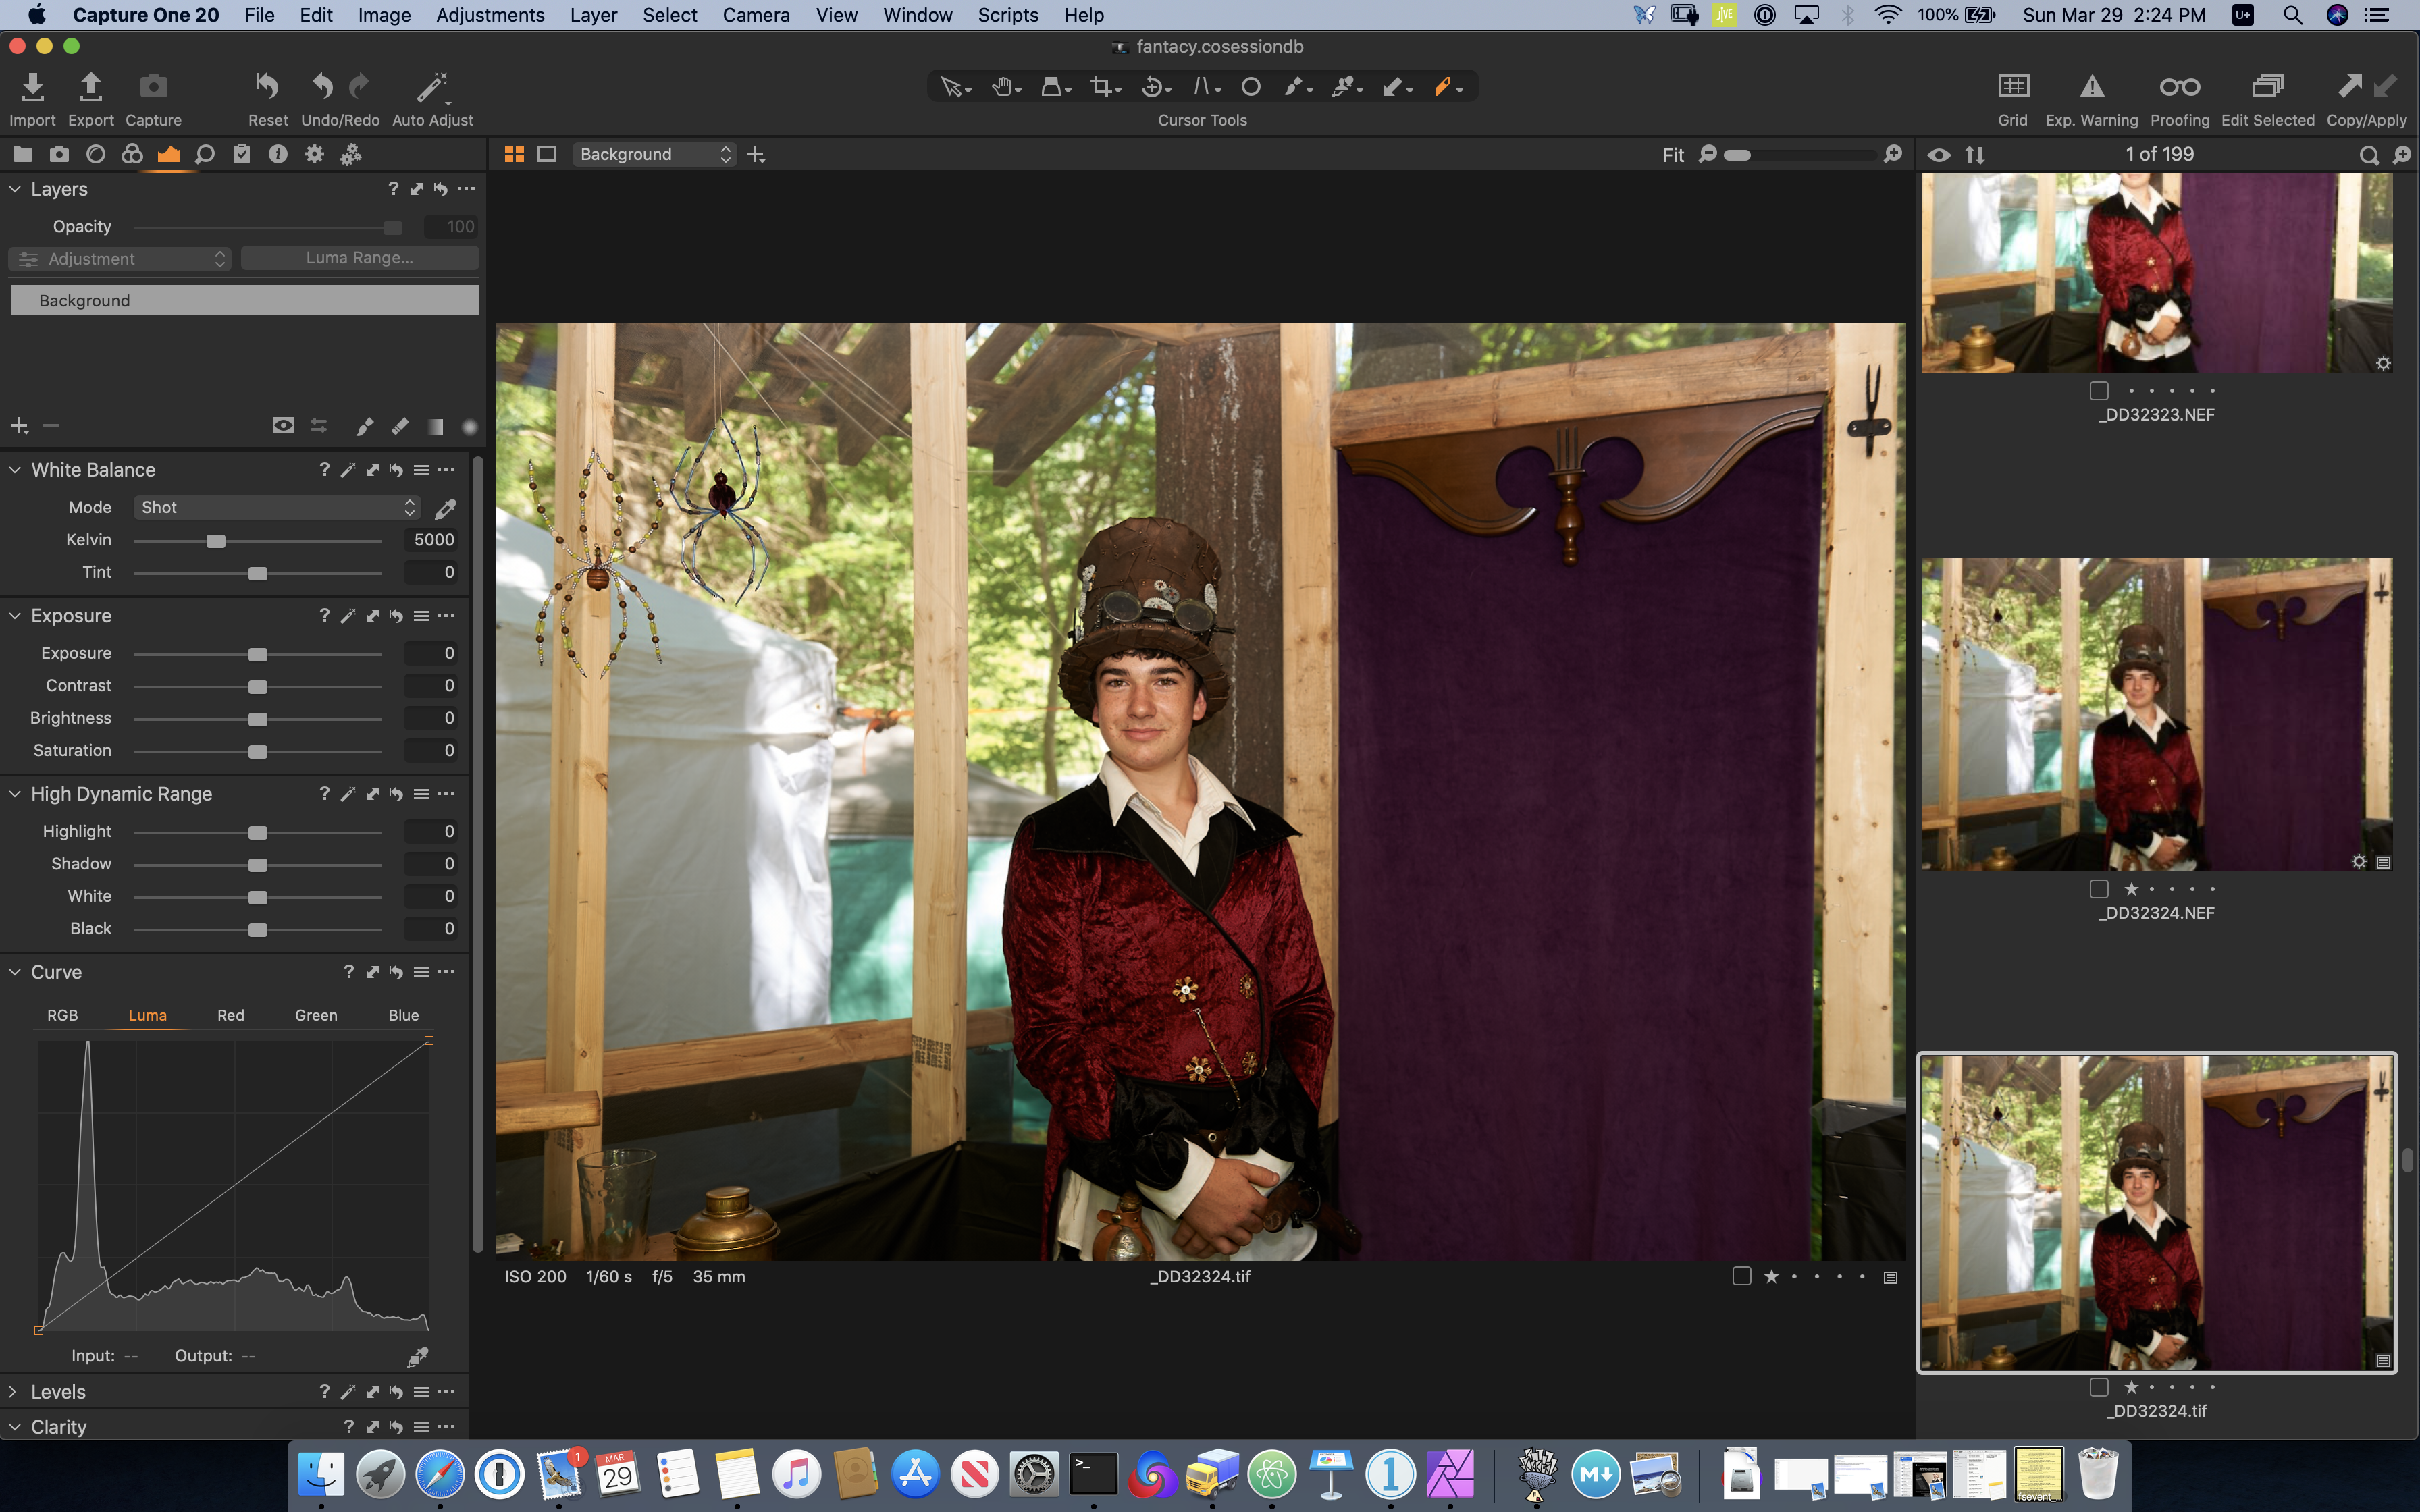
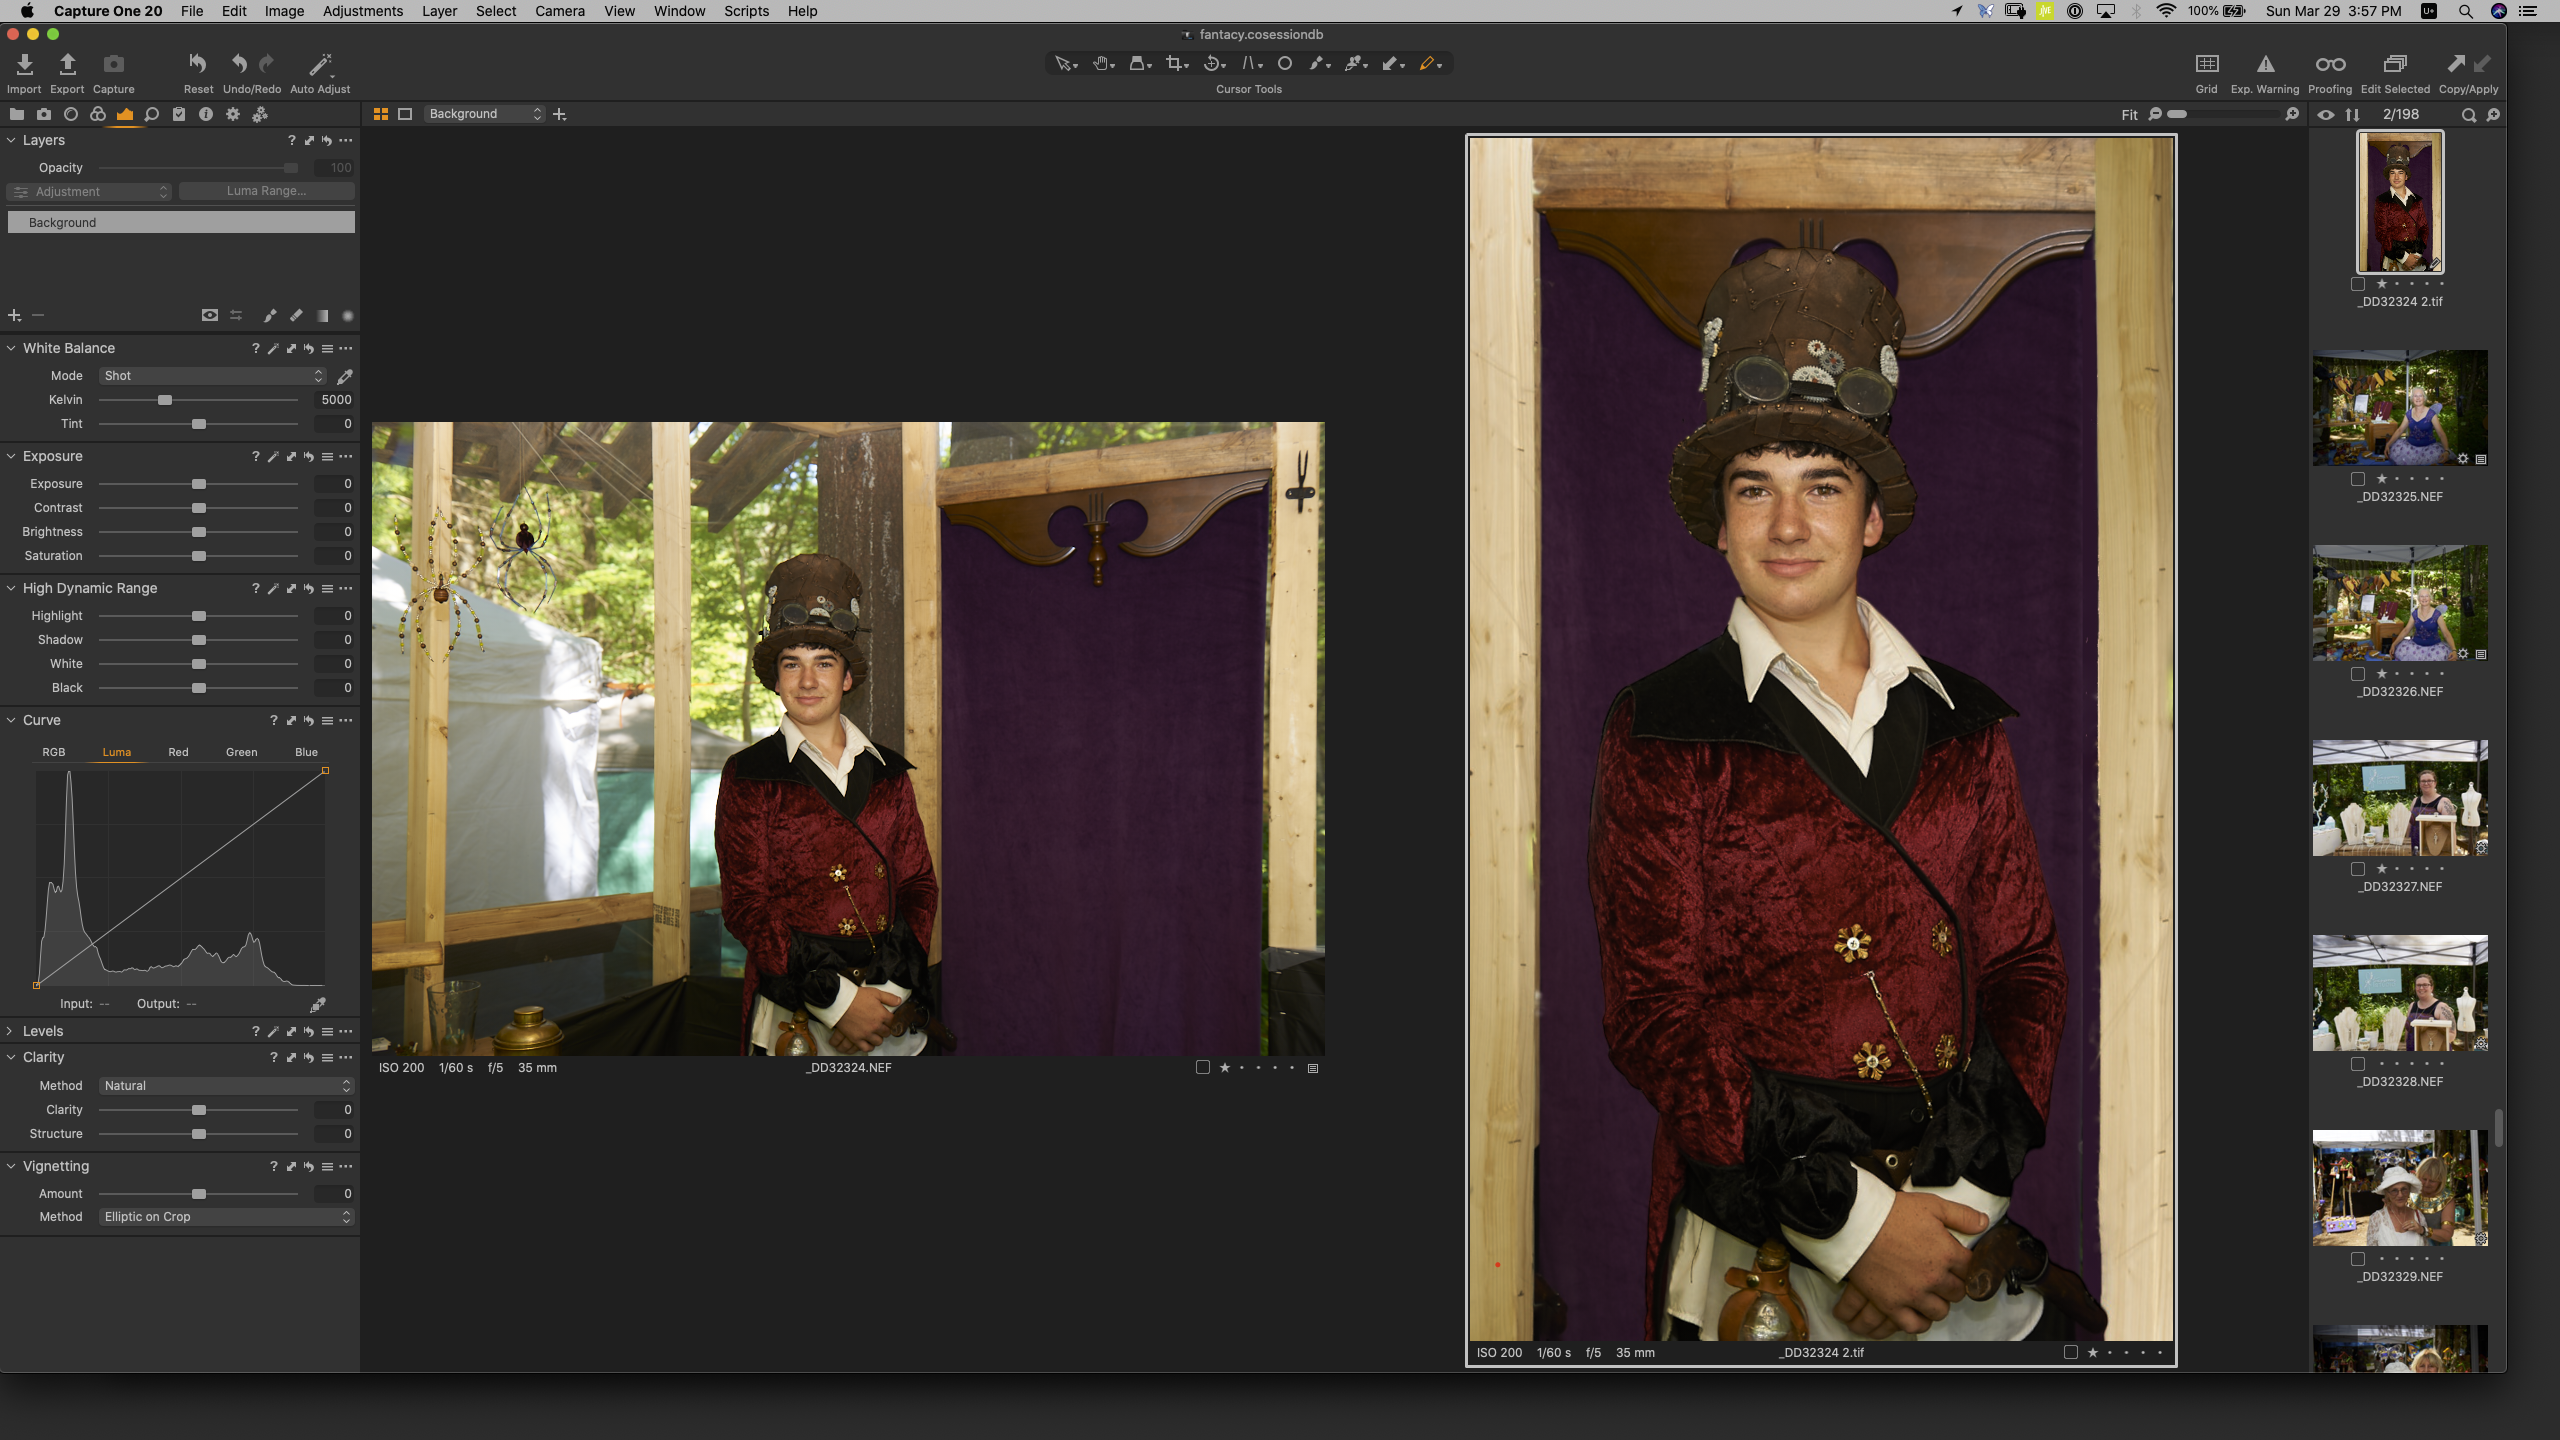
Let's start with the original image: (CaptureOne screenshot). After the demise of Apple's Aperture, I moved to C1 for digital development and file organization - see Blog "Choices" elsewhere on this site. C1 can do amazing edits, but sometimes, you need Heavy Lifting to seriously alter your image. So here we go.
Edits Required
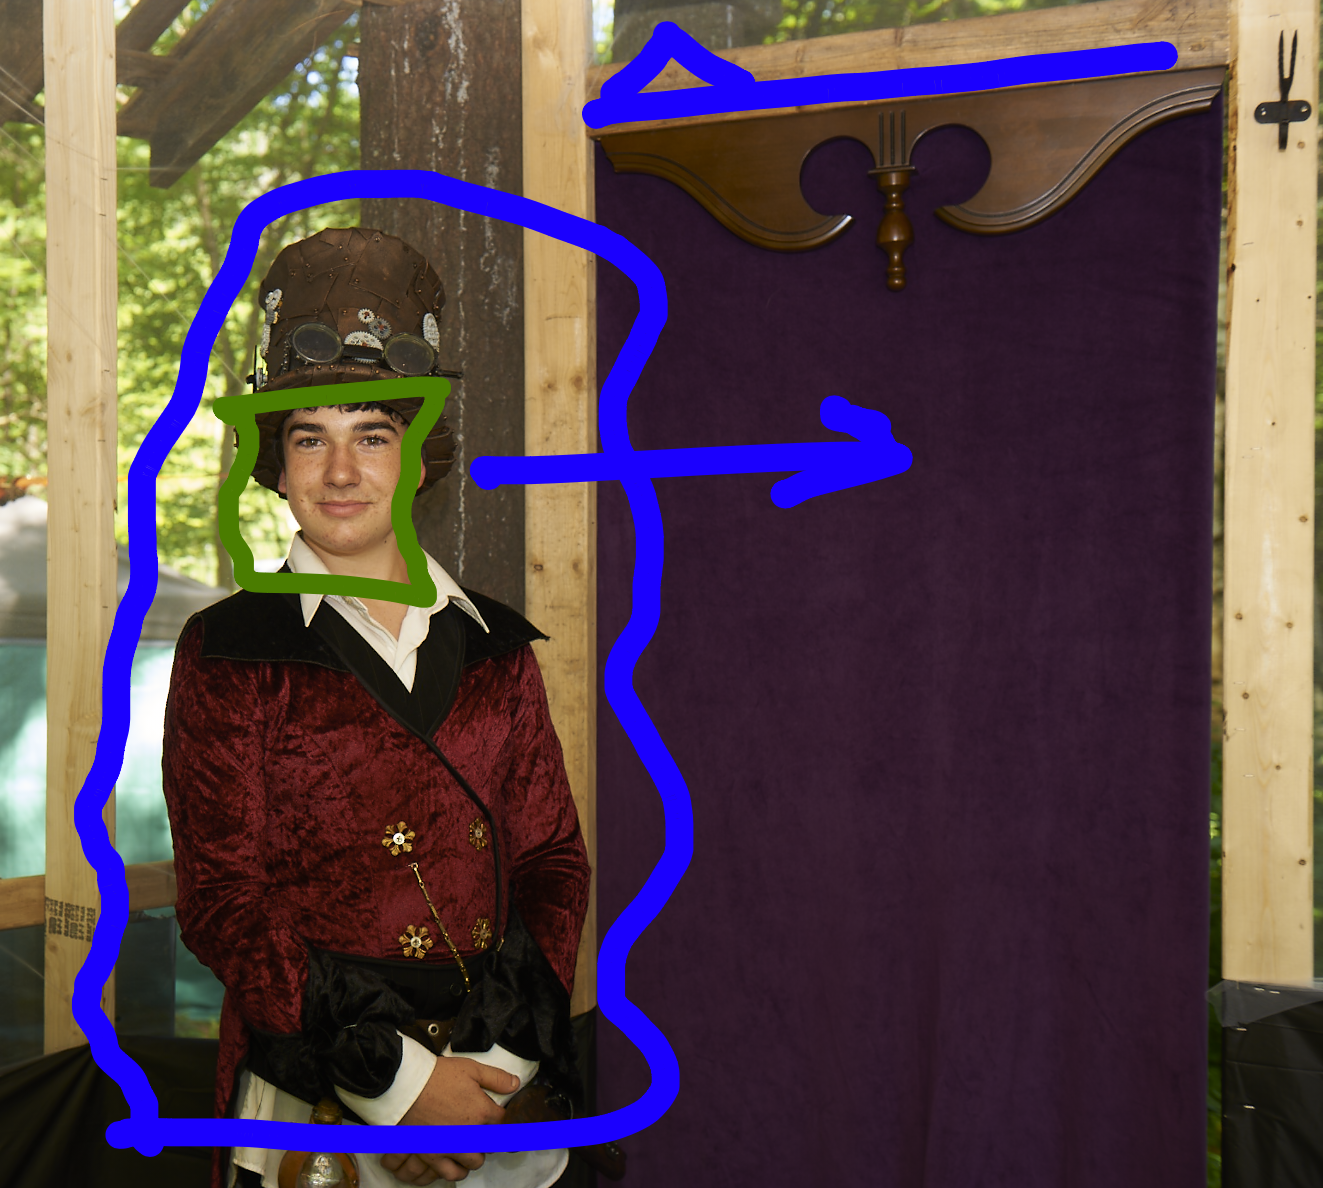
- Place Oliver in front of the purple backdrop (yea, I should have thought about that when framing the shot).
- Align the top of the frame to be horizontal.
- Reconstruct the wood frame.
- Retouch skin blemishes.
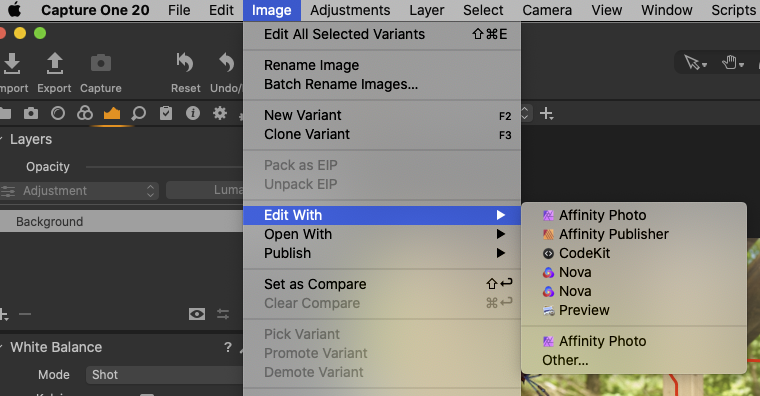
In CaptureOne, we will do a RoundTrip to Image - Edit With - Affinity Photo and finally return to CaptureOne.
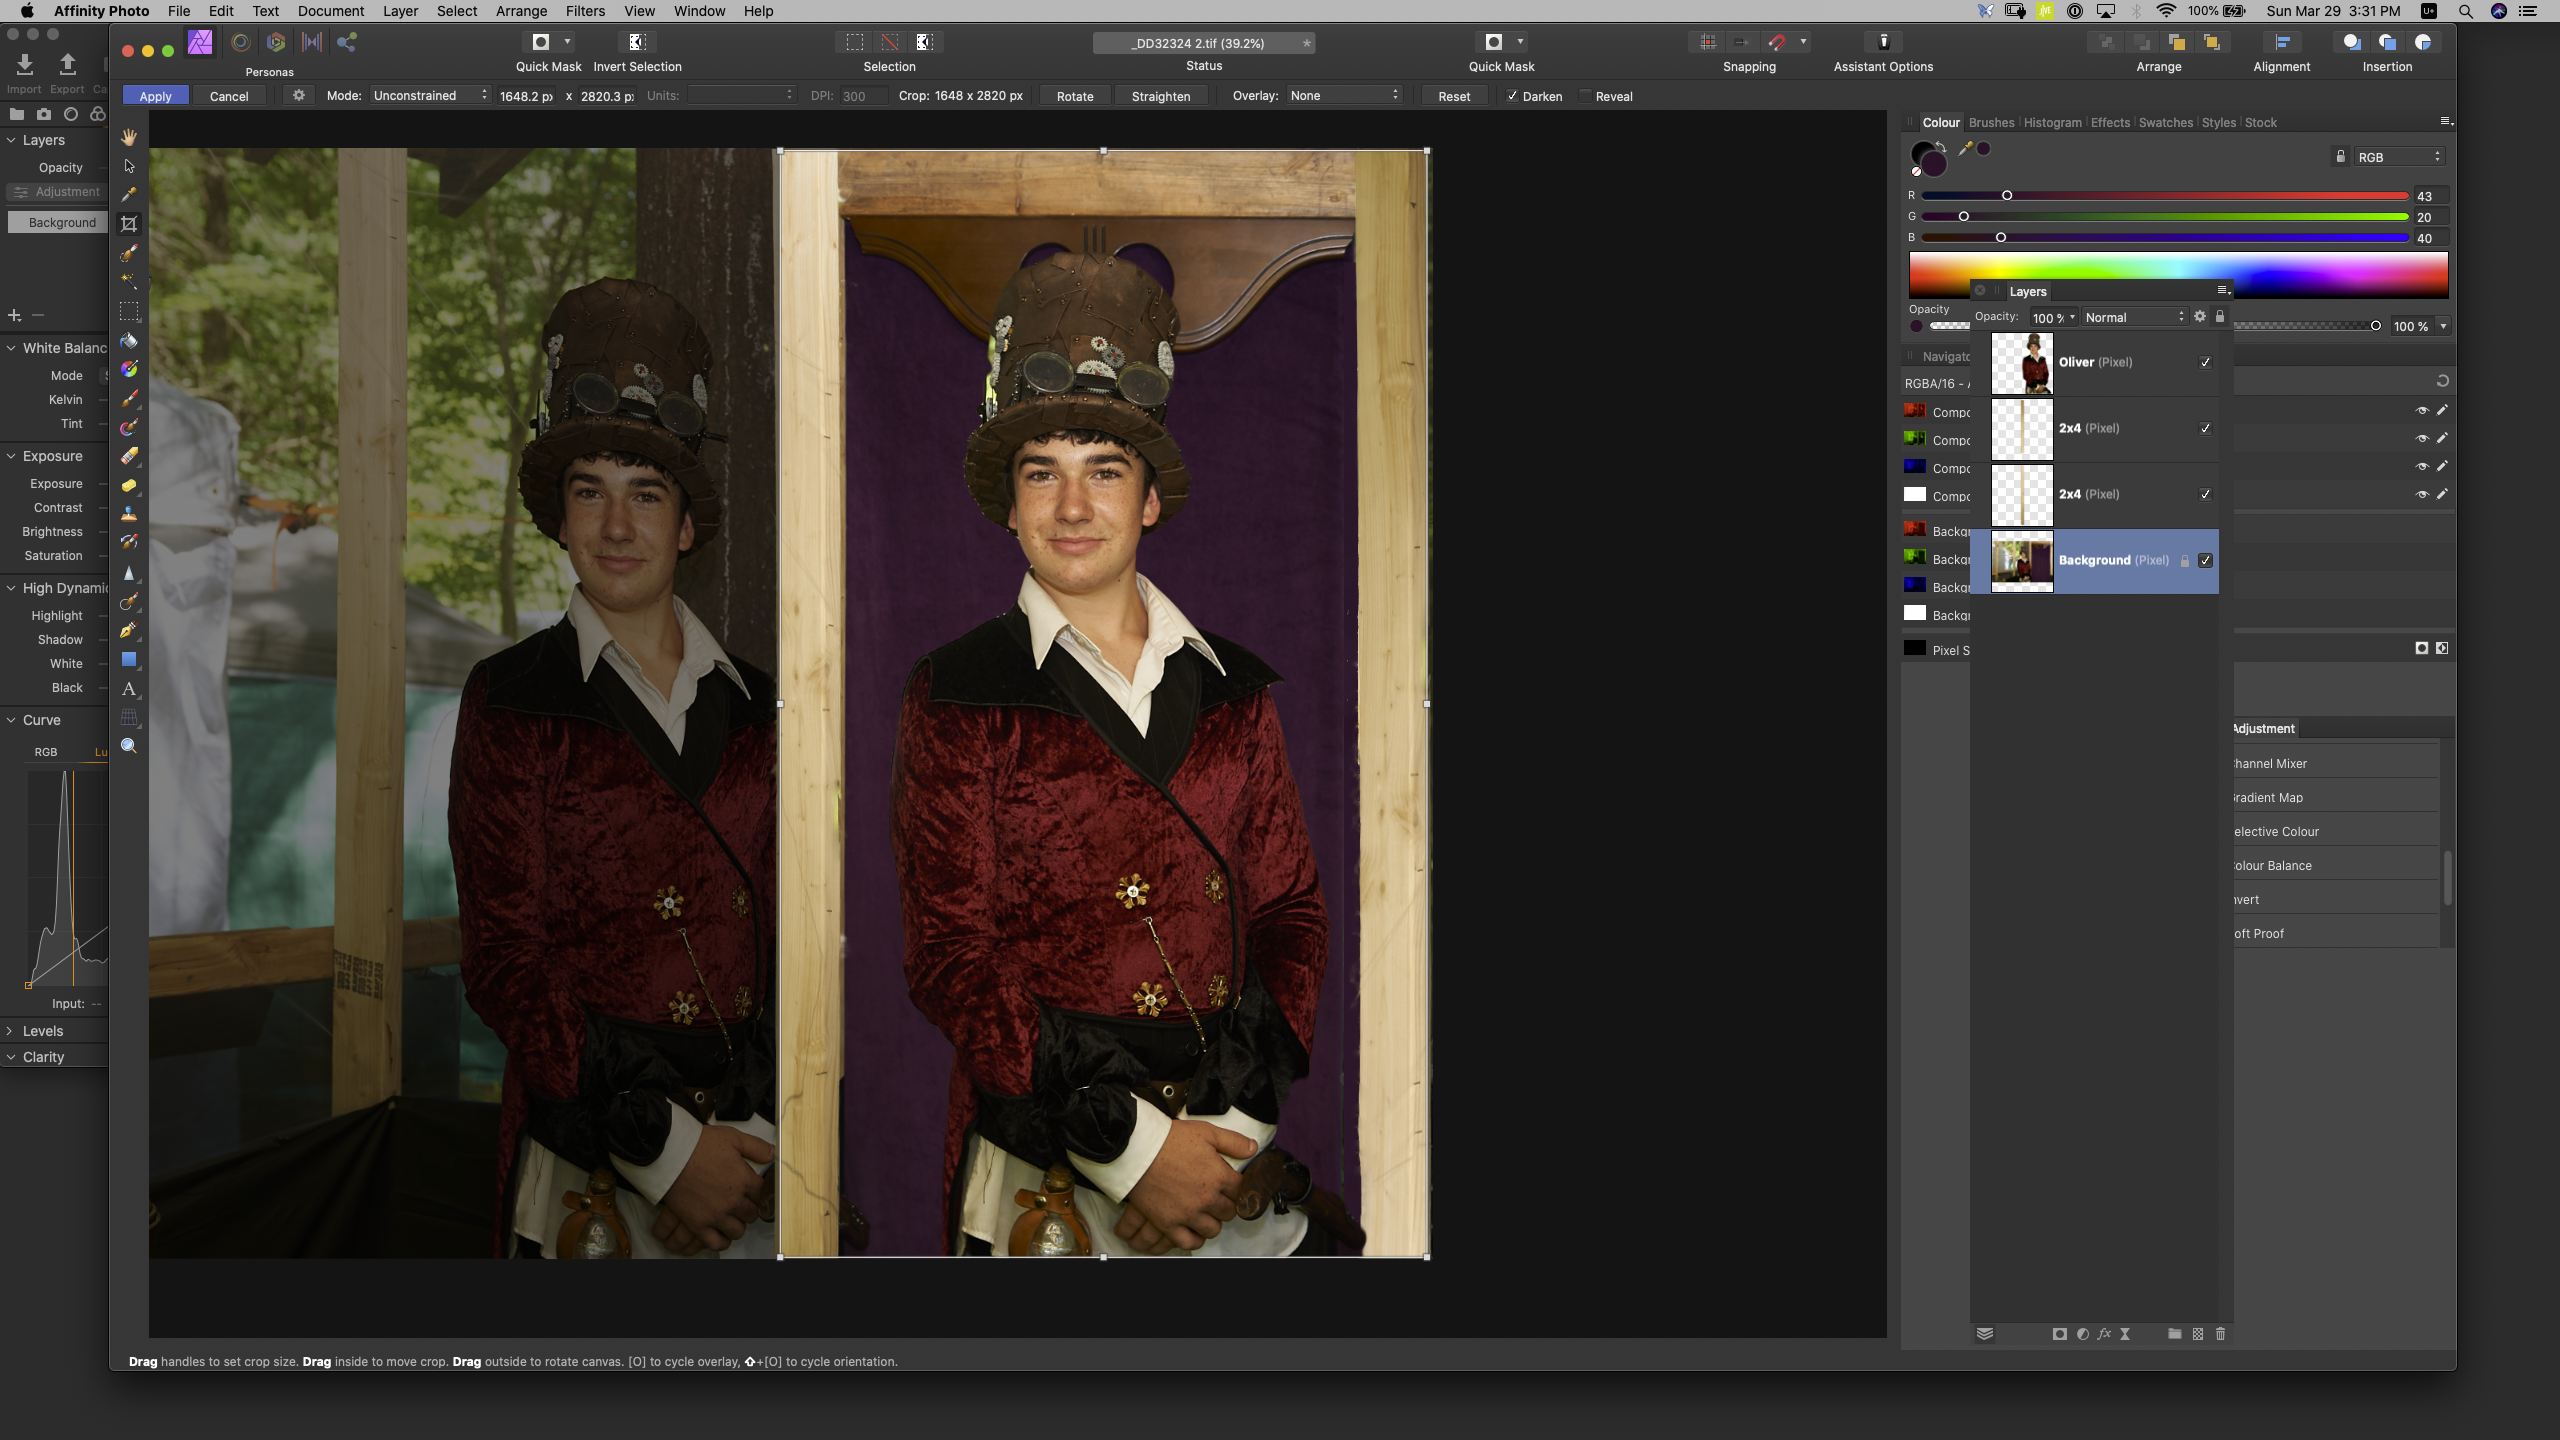
Affinity Photo Edits
Use Selection Brush Tool(w) to select Oliver. Once the marching ants are in place, CMD-J makes a new layer with the selection. With the new layer selected, we can move Oliver to his new spot, resizing him a bit if necessary. (You may want to open these images in a new tab - larger - to see the detail.)

Creating Elements
We are going to need some 2x4 studs to reconstruct the background when Old-Oliver (screen left) is removed by cropping and rebuilding the wood frame. From the Background layer, Select the left 2x4 and CMD-J to make a new layer. You will have to refine your selection to assure that the 2x4 does not have extra blips on it due to the brightness of the background behind the 2x4. It is always good practice to label your layers.
Before rebuilding the background with our copied 2x4, we need to straighten the top of the frame. Select the Background layer, then Filters-Distort-Perspective. You will probably need to zoom out so that you can manipulate the whole frame.
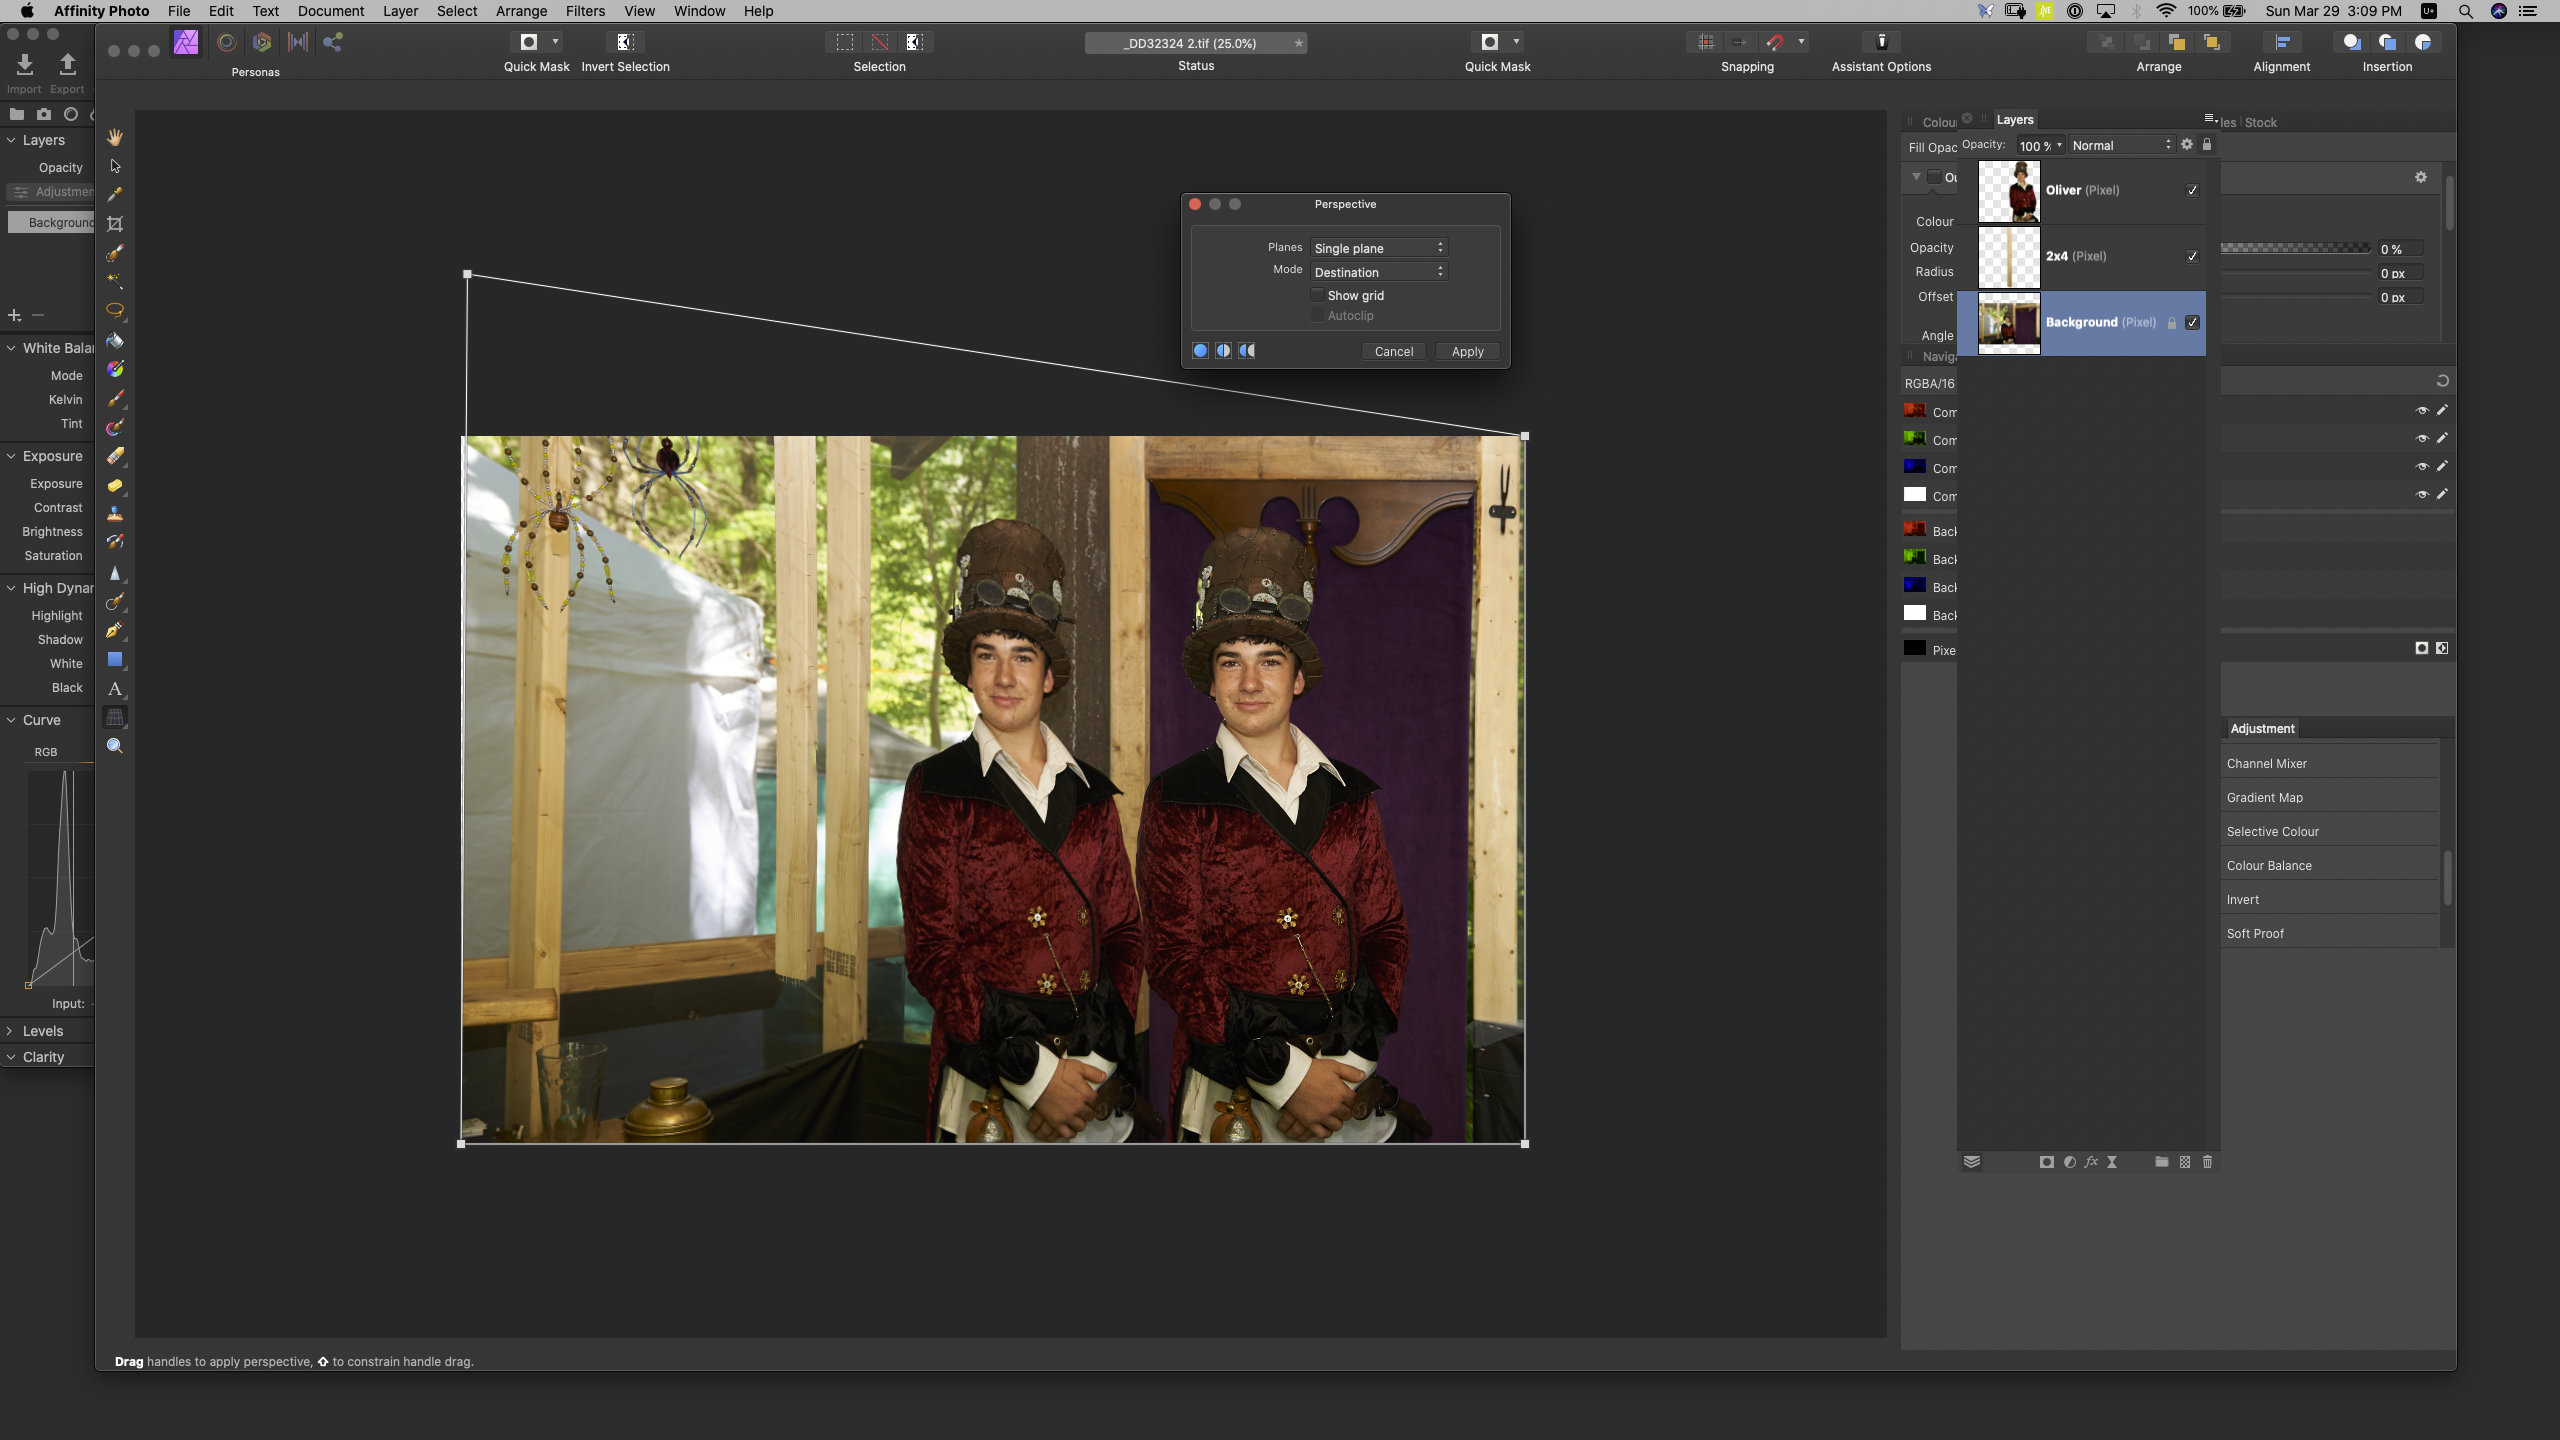
Rebuild the frame by selecting the 2x4 layer and placing over Old-Oliver's sleeve, and again on the right side to replace the black material at the bottom. Now crop to the frame to create a portrait shape.
Affinity Photo
Face Cleanup


Select the Oliver layer, then click on Filters-Frequency Separation. This creates High Frequency and Low Frequency layers. I used a radius of about 2px in the popup panel. You will want to zoom in to see the details.
High Frequency layer: Using the Inpainting tool, click on the blemishes with a fairly small brush.
Low Frequency layer: Using the Healing Brush, clean up the skin by ALT-clicking a source of good skin, then dab the brush on blemish area to replace. This young man has a lot of freckles, so do not try to turn him into a plastic model.
When you are finished tweaking with all the tools in Affinity Photo, just click on CMD-S to save the file back to CaptureOne. It will be a tiff file like so:
CaptureOne
Tidy Up
Before closing Affinity, you should probably also save the file as an .afphoto file if you want to go back and refine any layers. This file was 201 MBytes.
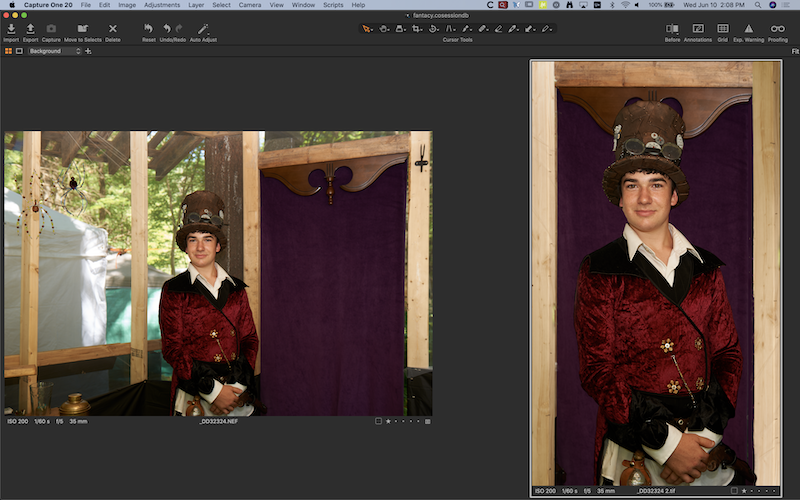
BEFORE (left side) >>> --- >>> AFTER (right side)
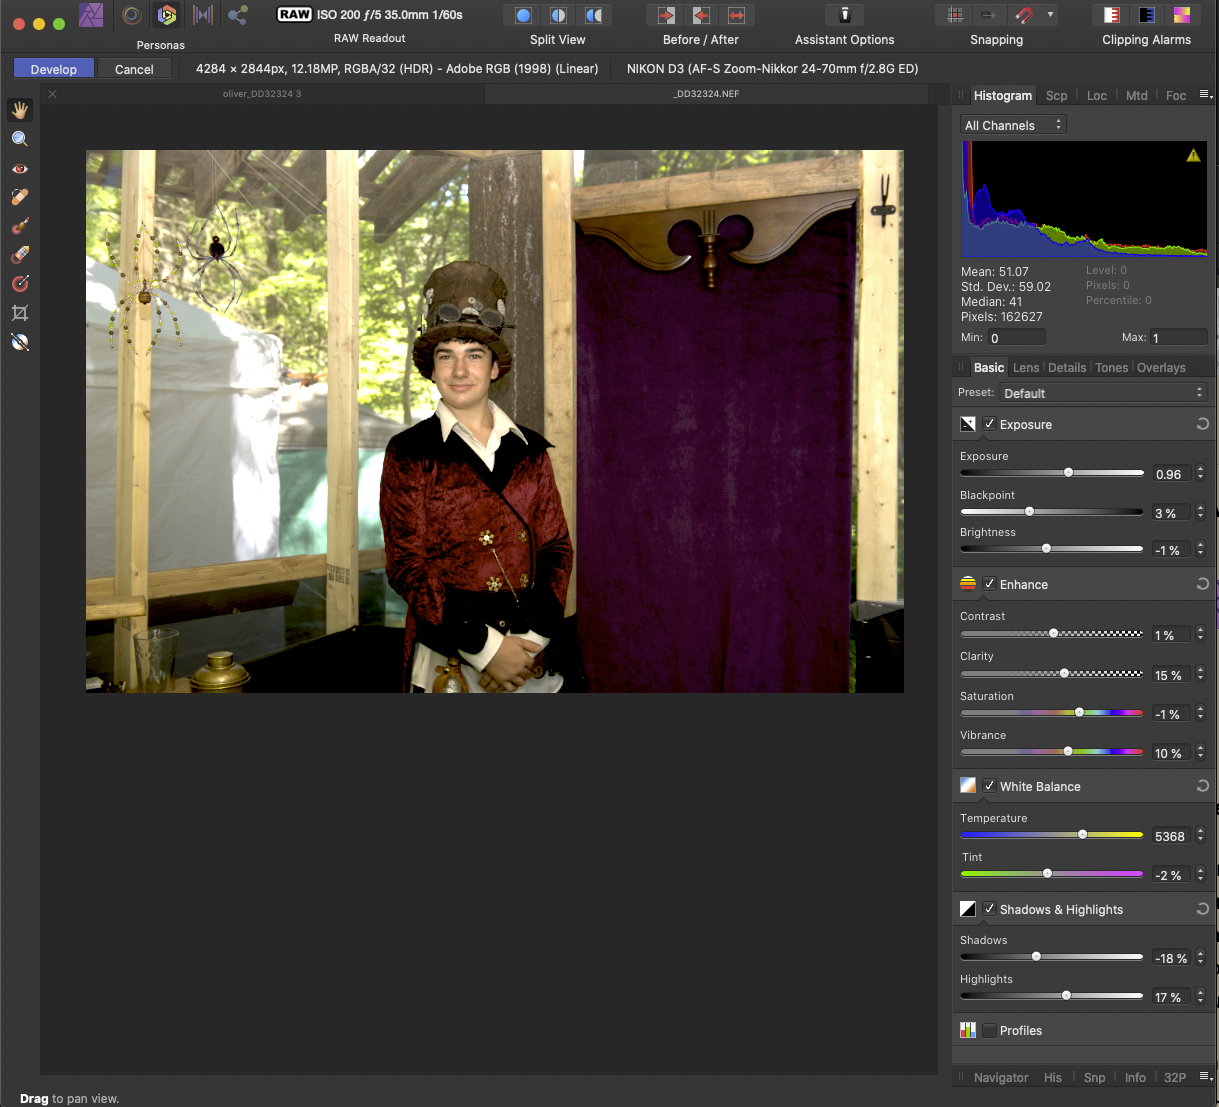
Note: You can start this whole process, from your RAW file in Affinity Photo (i.e. you do not actually need an outside RAW processor like CaptureOne or Lightroom). The initial RAW adjustment procedures are similar to those in Lightroom.
Full RAW Development in Affinity Photo
Shoot in RAW and enjoy an end-to-end 16-bit, super smooth experience in Affinity Photo. Bring out all the details, and control those finer corrections to take that perfect shot to another level.
- Professional lens corrections
- Adjust exposure, blackpoint, white balance and much more
- View histograms, blown highlights, shadows and tones
- View and edit EXIF information
- Best in class noise reduction and hot pixel removal
- Import XMP files (metadata only)
- Edit metadata
- Batch copyright and rights information
Affinity Photo
Affinity Photo Free Trial
Free Trial Affinity offers a full-function free trial, so with CORVID-19 messing with work flow, now is a good time to give it a prolonged tryout. At $99.99 (no subscription) it's a keeper! Make sure to use the full Trial period to assess the program. The online tutorials are excellent. Feel free to give me a call or email if you have questions. Website Details
Disclaimer: I have no affiliation with Affinity nor CaptureOne, simply a customer that has been gladly using these programs for several years. I no longer use Adobe subscription products at all.